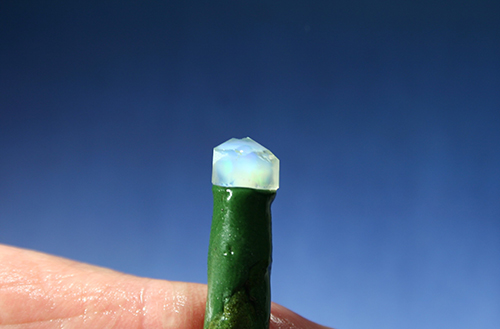
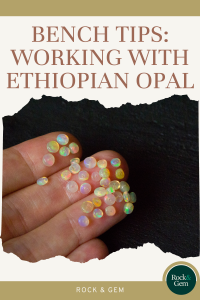
Ethiopian Opal has become one of the most available and worked types of opal. It has brilliant colors, minimal fractures and produces fewer problems trying to orient the patterns and colors.
The colors and their patterns are generally prevalent throughout the piece, so it isn’t difficult to orient these colors and shape the cab to retain the best pattern.
Rough Material Selection
I decided to make a Brazilian agate piece with a center stone of rose quartz and three accent stones made with Ethiopian opal. Though the center stone was made from a piece of asteriated rose quartz from Auburn, California, the slice that I had wasn’t thick enough to make a sphere that I could utilize in determining where the star was oriented.
Previously I have worked with Ethiopian opal to make cabs for rings. Typically, the material has some fractures, so selecting a fracture-free rough piece with a general dome shape can take some time. By being selective in choosing the rough piece for color, shape, and defects you can get the best yield. Most of the rough has a coating of sandstone and some sandstone inclusions, so you need a strong backlight to highlight the amount of penetration of the sandstone. The light will clearly reveal the depth and location of any fractures within the rough. Most dealers have a strong light to evaluate the rough.
After flattening the bottom of the rough, I prepared the dop sticks. Because the cabs will be rather small at 6 mm across, I used lengths of wood skewer sticks for dop sticks. I further reduced the diameter on the end of the sticks by shaping them with a file. I applied a small piece of dop wax on the stick by holding it over an alcohol lamp to melt and shape the wax. I carefully heated the opal piece by holding it in my fingers up to the side of the flame. Concurrently I heated the dop wax until it started to get very soft. I brought the wax up to the opal and stuck them together, and I reheated both taking care not to apply too much heat to the opal.
Trust Templates
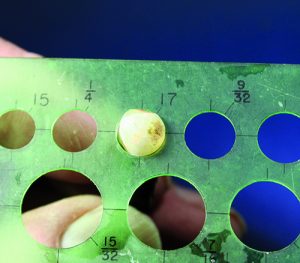
The next step was to grind the perimeter until the stone was round. I frequently checked the shape with a template. After it was rounded, I shaped the top to a dome shape.
Next came the changes. One of the characteristics of this opal is that it exhibits a condition called hydrophane. In the distant past, the hydrophane effect meant that when the opal dried out the color disappeared, thus it must always be kept in water to see the colors. In the case of Ethiopian opal, the hydrophane effect has the opposite results. As it gets wet while being worked, the color slowly starts fading until the stone approaches near clarity.
This can be frightening if you are not aware of the opal losing its color. The color does restore itself after a few hours of being dry. Sellers of this opal always keep it dry where sellers of most other opals usually keep the rough wet so the colors show better.
Retaining Original Color
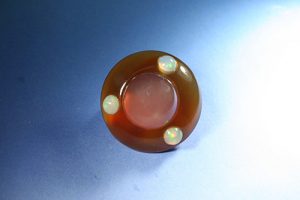
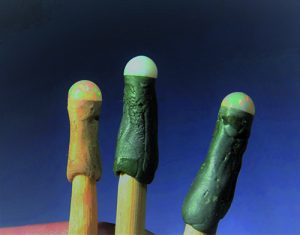
While working my stones, I had varying experiences with the colors. The stone that started with the brightest color had the least color loss while working it. The next brightest had a total loss of color. The final stone had a completely different change. It started out with only a green flash of color and it turned white during the cabbing process. I hadn’t experienced this effect before. In comparing them together on the dop stick, these differences became evident.
Fortunately, all of the stones returned to their initial colors, though the green flash stone took considerably longer – about 36 hours – to get to that restored condition. With the restored colors the mounted stones look quite attractive.
This What to Cut column about Ethiopian opal previously appeared in Rock & Gem magazine. Click here to subscribe! Story by Bob Rush.


