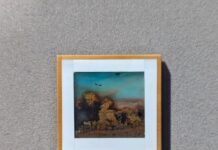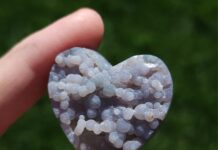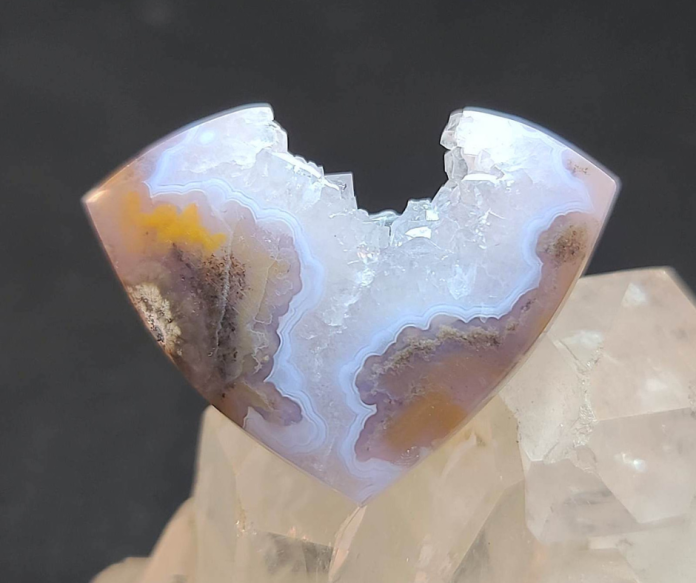
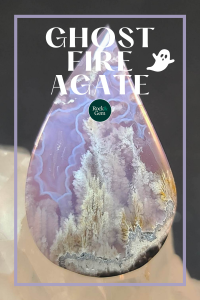
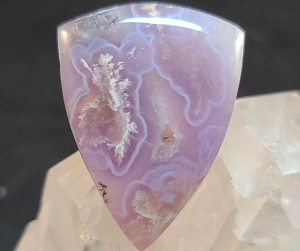
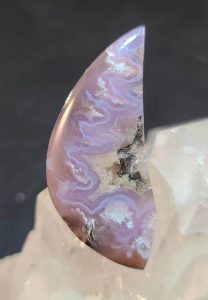
Ghost fire agate is another new find from West Java, Indonesia. This material is a bit complex. It’s not a seam or a nodule agate, but more of a conglomerate with nodules inside. Ghost fire agate got its name from the fiery orangish red flame patterns, mixed with white plumes, and blue to purple agate, which also displays a beautiful flame pattern. Even when using a field guide to agate, it’s good to remember that each piece is different. You never know if you’re going to get flames, plumes or geode crystal cavities.
Purchasing Ghost Fire Agate
Since this is a new material, it’s not readily available everywhere just yet, it can be found mostly on Facebook in some of the rock sales forums. When buying ghost fire agate, it’s best to buy from pictures that show at least one side faced, or cut in half, so that you can see what you are getting inside. This material has a great deal of matrix on the outside, and a greater portion inside. It’s best to see how much agate is there before committing to a price that might not yield enough usable agate area to cab since it’s purchased by the pound.
 Slabbing Ghost Fire Agate
When starting to slab this material, I cut from two sides, north and west. This way I could see if there were drusy pockets or completely agate-filled nodules. I was able to choose which patterns I liked best. There is no definitive direction to load the stone in the vice, as there are no north-to-south types of patterns in this stone. Start off with the flat sides held tight in the vice. Once you get it cut, if there are large areas of the matrix in the center, I like to cut through them, and downsize the larger stones, so that I can cut smaller ones on a 10-inch trim saw. That way it’s much easier to switch directions with each slab cut, instead of continually loading a vice on the larger saws.
Once your slabs are cut, and it’s time to draw preform designs, you can include some of the matrix that’s still solid enough to cab and not worry about undercutting too much. I have noticed that the plumes grow from areas of the matrix, so I designed them in a way that the matrix is used as a partial framing of the cab. Other times, you can run into patches of beautiful purple and blue agate and isolate that as your cab. The other pitfall to look out for is the calcite that seems to border some of these areas. It’s much softer than the agate and will undercut fairly easily, especially if it’s on the edge of your cab.
 Cabbing & Finishing
The cabbing process is fairly routine to most agates, but there are still several ways you can go to obtain the same results. Most lapidaries use a 6-diamond grit wheel setup. For those who still have, or use silicon carbide belts on a poly arbor, they seem to work well in the beginning stages as long as they are on two separate machines, and you rinse the cab off before going back to diamond grit, to keep from contaminating the machine with diamond wheels.
Start shaping and doming on the 80-grit steel diamond wheel. Once you have that portion done, you can continue to a 140 soft resin diamond wheel, or switch to a poly arbor set up, with 100 and 220 silicon carbide belts. The 100 will quickly smooth out the cab and remove all the deep scratches from the 80-grit. The 220 will completely remove any remaining scratches, making it quick and easy to finish the rest of the way on the diamond wheels, starting back on the 600, and all the way up to the 14k.
This story about ghost fire agate previously appeared in Rock & Gem magazine. Click here to subscribe. Story by Russ Kaniuth.


