How to carve a heart shape is one that many people would like to add to their repertoire. It’s a bit more complex than holes into the back of a cab.
Getting Started
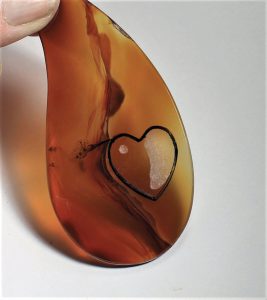
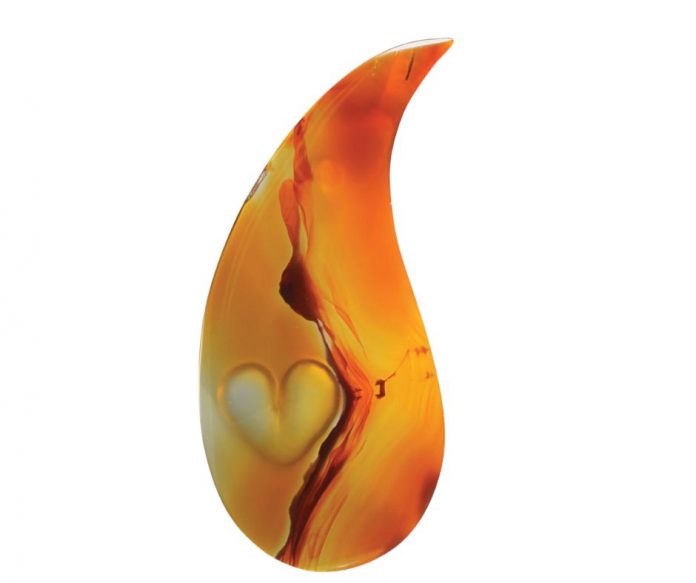
I started with one of my favorite shapes, a sharply curved teardrop made from Piranha agate from Brazil. Its name is derived from the state of Parana in Brazil, but after the material arrived in the U.S. the spelling devolved into the name of a fish, the piranha. This agate is much more highly colored than the typical Brazilian agate from elsewhere in Brazil. I really like making cabs from this material because the colored bands are so highly defined and complex.

Before I started carving the heart shape into this cab, I decided to do a trial piece to understand what complications and problems would arise. I also need to know which tools would be needed for the project.
When I was selecting the material and shape for the cab, I did so to add the heart shape carving to the back of the cab. I also wanted to be able to have the color pattern situated where it would slightly curl around the heart shape.
I started the project by grinding, shaping, sanding, and polishing the cab as I normally do.
Carving the Heart Shape
After completing this step, I selected a template with the size and shape of the heart that would be appropriate for the size of the cab. Using this template, I traced the shape on the back of the cab with a fine point sharpie.
Following the outline of the drawn heart shape, I ground it, starting with a 7.78mm (.30”) 80 grit diamond ball bur. I completed the smaller areas with a 6.38 (.25”) 80 grit diamond ball bur. Then I refined the shape with 220 and 400 grit burs.
As I was completing the grinding steps, I frequently measured the depth of the recess with a caliper to ensure that I wasn’t grinding too deeply, especially because the cab was rather thin at 4.23mm.
I used a preshaped round wood bur to sand the recessed area by first using 220 grit tumbling media. I shaped another wood wheel to do the final sanding with a 400 grit tumbling media. The sanding steps are outlined in previous articles. The final step involved yet another preshaped round wood bur utilizing a slurry of cerium polish.
The addition of the heart shape, in my opinion, greatly enhanced the overall attractiveness of the piece.
CARVING STEPS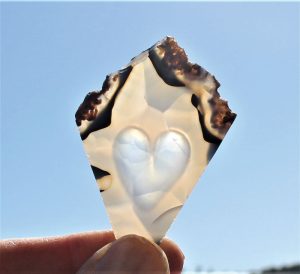 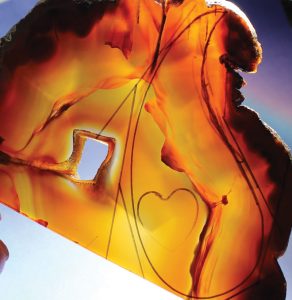 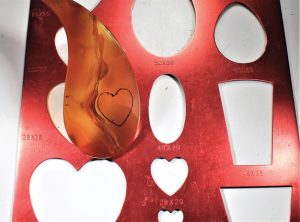
|
This Bench Tips column about how to carve a heart shape previously appeared in Rock & Gem magazine. Click here to subscribe. Story by Bob Rush.


