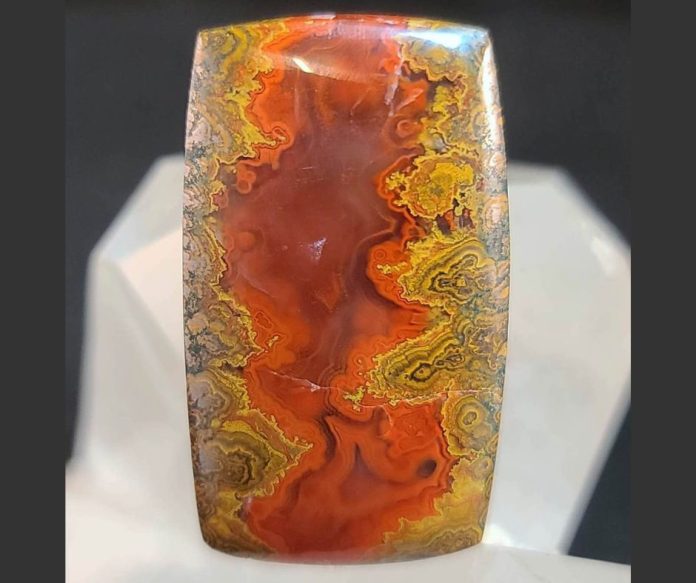
Moroccan seam agate is named after the Atlas Mountains of Morocco where it is found. Seam agates are fairly common around the globe, where small cavities or veins fill in with mineralization and harden over time creating agate seams. Each seam agate will be different depending on what minerals were soaked into the veins.
ABOUT MOROCCAN SEAM AGATE
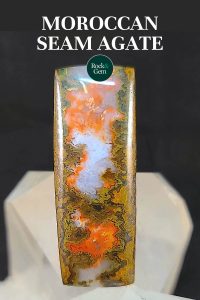
Moroccan seam agate’s colors are amazing, just like the fall in New England. The colors range from red, orange, pink, peach and green. They are sandwiched between a basalt host stone, and the outer layers are mostly a mix of hematite and goethite. This creates a beautiful border, that at times, has a plume or even a paisley appearance. The majority of the inside of this agate will have a common range of color from red to orange, with decorative banding or fortifications.
HOW TO BUY
When purchasing Moroccan seam agate, you can easily see the patterns showing on the edges. This gives you a good idea of what the slabs will look like inside.
Most of this agate will range from 1/4-inch to two inches thick. This isn’t very thick and it can be a challenge to create shapes from it. What Moroccan seam agate lacks in size, it makes up in color and patterns. Most of the time it’s best to slab this material from north to south. If pieces are a bit thicker and show signs of agate pockets, these can be sliced horizontally, and you can accommodate a different pattern.
CUTTING MOROCCAN SEAM AGATE
The slabbing process is fairly easy with this material. Most of the pieces are like trimming the edges off of a slice of bread. I do all my cuts on a 10-inch trim saw.
Once Moroccan seam agate slabs are cut, this is where the challenge starts. Creating cabs with long thin narrow pieces can be difficult, at least to create a variety of shapes. I tend to choose large oblong ovals or marquise shapes for the majority of my cabs, however, you can get creative and find various ways to cut them utilizing the patterns in each slab. Always take into account that the very edges of each slab are softer grainy basalt that won’t be very good to leave in your cab design, so mark out each preform accordingly.
CABBING THIS MATERIAL
Once your preforms are trimmed out, the cabbing process is pretty standard for most agates. There are just a few things to note upfront.
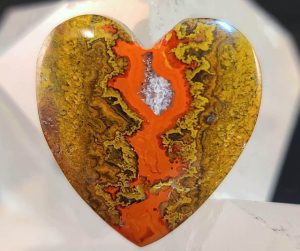 The outer basalt rind should be trimmed off until you reach solid material, then grind your edges down to your preform marks.
The hematite/goethite edges might be a slight bit softer than the agate center. Don’t worry. This material won’t undercut, however, you will still need to closely watch your edges as cracks may appear as you start grinding down your girdle edge. They usually don’t go all the way through, they tend to show up, but only about 1mm deep. If this happens, you may have to alter your pattern slightly and grind that portion down or draw the edge of your cab in ever so slightly. You may also just shrink down your girdle edge and see if that makes it go away.
From this point, shape and dome on the 80 grit steel wheel. Once your shape is obtained, you can start smoothing out the top on either a 140 soft resin wheel or 220 grit wheel. This should remove the majority of the scratches. Next, finish sanding on the 280 soft resin wheel and continue to dry the cab off checking for any remaining scratches. It’s important to get all of the scratches out on this wheel before moving on since the 600 grit will not be able to get them out.
From this point, the remaining routine will finish off your Moroccan seam agate cab leaving a beautiful high polish on the 14k grit wheel and your cab is all ready to set into jewelry.
This story about Moroccan seam agate appeared in Rock & Gem magazine. Click here to subscribe. Story by Russ Kaniuth.


