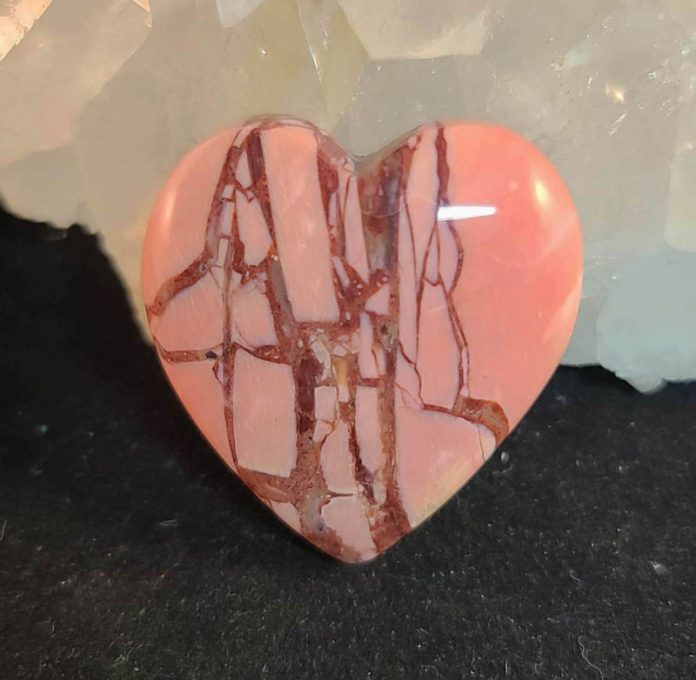
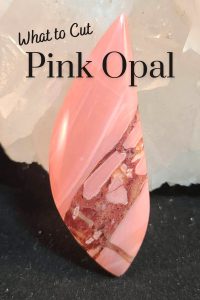
Pink opal, for many years, was found only in Peru. Then in 2011, Glenn Archer of Australian Outback Mining discovered a new find in the Gascoyne region of Western Australia, just east of the coastal town of Carnarvon. Wondering about what gives minerals color? This new pink opal comes in an array of opal colors, ranging from deep rose pink to almost white. Much of this material has beautiful swirling patterns and a brecciated variation. The nice part of this new find is the size; the seams seem much larger than you would normally get from Peru, giving you more space to design cabochons.
Purchasing Pink Opal
If you’re looking to buy some of this material, you can find it on Glenn’s online store at: www.gemstonegeeks.com. It’s fairly easy to see what you are getting, as this comes from a horizontal seam, and the sides of each stone show its contents. Whether you are looking for larger areas of pure pink, swirling patterns, or brecciated variation, the pictures online will show you what you will be getting.
How to Slab Pink Opal
Slabbing this material is fairly easy, but with all opals including Ethiopian opal, it can be on the brittle side. If you plan on putting the rough in a larger saw gripped by a vice, I would suggest using a sintered continuous rim blade that is as thin as you can get it. Cutting with an aggressive thinner agate blade could cause fractures and massive unwanted chipping.
 I suggest hand cutting on smaller trim saws, with a thin blade and water instead of oil. Once I have cut each slab, I normally put the slabs in a bucket of water until it’s time to cut cabs from it. Otherwise, it seems to dry out and fractures can develop.
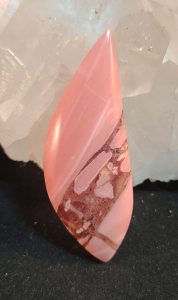
The brecciated variation is definitely a fan favorite, and you shouldn’t have any concerns about its stability. The chalcedony running through it holds the opal together nicely.
When starting the cabbing process, bench tests each slab to ensure it will be stable. Opal almost always shows fractures. Although most are superficial, parts may break off where there is a fracture that is not even visible.
Trimming Preforms
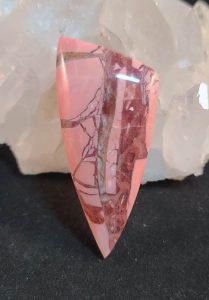
For the most part, trimming out preforms is easy, but I did lose a couple to fractured pieces. This didn’t hinder me from cabbing them, but it did force me to alter the shape of the cab. I may not have gotten the desired shape I originally intended, but the stone itself chose a shape for me, which always turns out beautifully. There’s nothing wrong with redesigning a cab on the fly when you lose a piece or a chip from your original design; the colors and patterns of this material will look great no matter what.
 Cabbing Pink Opal
To start cabbing pink opal, I would suggest a well-worn and broken-in 80-grit steel wheel to gently grind out your shape. Note, that the lighter the color, the softer it is. The dark rose is fairly hard, and the light pink to white is fairly soft, so if your 80-grit is aggressive, then start on a steel 220- or even a 60-grit soft resin wheel.
Once your shape is obtained, dome the top with a soft 60-grit wheel, with lots of added water. It’s important to turn the water up when cabbing pink opal so that you don’t add any extra heat from the friction of the wheels.
From here, I typically use a soft resin 140-grit, to remove all the remaining scratches. Once you finish getting your cab smoothed out, and scratches removed, move on to the 280- then to the 600-grit wheel. At this point, your cab should almost look finished, by the time you reach the 1200-grit wheel, your cab will most likely have a mirror polish and you will have a finished cab. If there are still some slightly dull spots, you can move up to a 3k or 8k soft resin wheel and lightly give it a final polish.
This story about pink opal previously appeared in Rock & Gem magazine. Click here to subscribe. Story by Russ Kaniuth.


