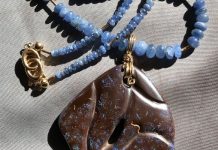
Dinosaur bone fossil can be found all over the planet in various forms, but it’s rare to find complete skeletons. Most of what collectors find are pieces dug up that have been broken apart, or alluvial pieces that have eroded away from the cliffs and made their way into a water system and have been naturally tumbled by nature.
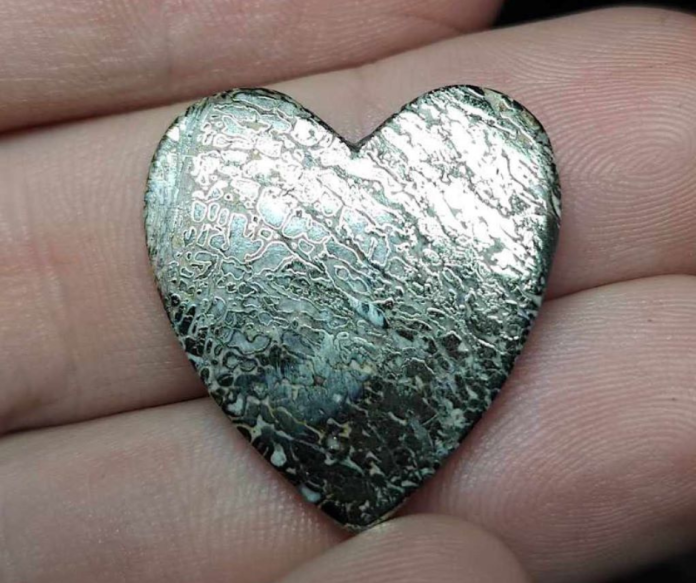
Agatized dinosaur bone fossil is relatively rare, where the original bone cells have been filled in and replaced by the mineralization of silica compounds, such as agate/chalcedony, jasper or opal. In rare cases, the cell structures are pyritized. The majority of these dinosaur bone fossils range from 65 to 150 million years old.
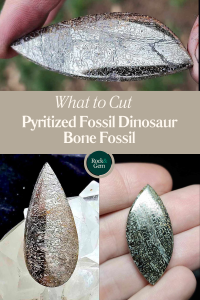
What to Buy
When purchasing fossil bones, it’s best to do some research first to know what you are looking for and to know what to expect. Dinosaur bones are fossilized, but some are not nearly silicated enough to be lapidary-ready. It’s very difficult to know what you’ll get by looking at a rough piece, so many times it’s best to buy something that has been previously cut to expose what’s inside, or just purchase slabs.
Getting Started: Dinosaur Bone Fossil
When starting the slabbing process of pyritized dinosaur bone fossil rough, it’s best to find the direction of cell structure patterns and cross-cut to expose the cells. This material is on the softer side so either cut it just a hair thicker than usual (1/4-inch) or be prepared to glue it to a backer to secure the bone by adding another layer for strength. Once you have the slabs cut, you can glue the backer on or judge if it’s stable enough to proceed to cut your preforms. You’ll notice there’s a brown rind on the outer edges, that portion is usually too soft to use, and won’t take a polish. My suggestion is to design your cabs using the inner portion where only the cell structures are showing.
Draw out your preform designs and gently cut them out on your trim saw. I would suggest not cutting up to the lines, but instead, give yourself a little extra room and grind your way down to the desired shape. This is one of the materials I would not want to attach to a dop stick. It is too delicate to remove when finished. I usually cab these by hand.
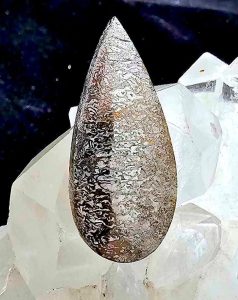 Cabbing Dinosaur Bone Fossil
When starting the cabbing process, you can start on a 220-grit steel wheel. Go slow and be cautious not to chip off the back edges, or grind too fast because of the softness of the material. If the pieces you have are extra soft, I’d suggest shaping and doming on a 60 or 140-grit soft resign wheel, as they will remove material with less vibration and shape smoothly without the fear of fracturing your cab. Once you’ve obtained your shape and domed the top, proceed to the 280-grit soft resin wheel.
This material is extremely messy and will make it difficult to visually see how far down you are sanding, so go slow, and periodically wipe with a dry cloth to examine the depth and scratches in your work. In the next step, use your 600-grit wheel to remove any remaining scratches.
Pyrite will generally have micro-fractures running through it, which is to be anticipated, so examine closely and remove any micro scratches still left in your work. Be sure not to go any further until you have a smooth and shiny surface. By the time you finish on the 1200-grit wheel, your cab will already look brilliantly shiny with the metallic gold from the pyrite. It will look almost finished.
Finishing Your Cabochon
At this point, I finish either on the 3000 or 8000-grit wheel and will lightly polish with Zam polishing compound on a felt tip using a Dremel tool. Be sure to go slowly and use light pressure so that you don’t overheat the stone and create any fractures. In the end, your cab will shine a beautiful gold with a unique cell pattern that really stands out.
This story about how to make a cabochon from pyritized dinosaur bone fossil appeared in a previous issue of Rock & Gem magazine. Story by Russ Kaniuth. Click here to subscribe.


