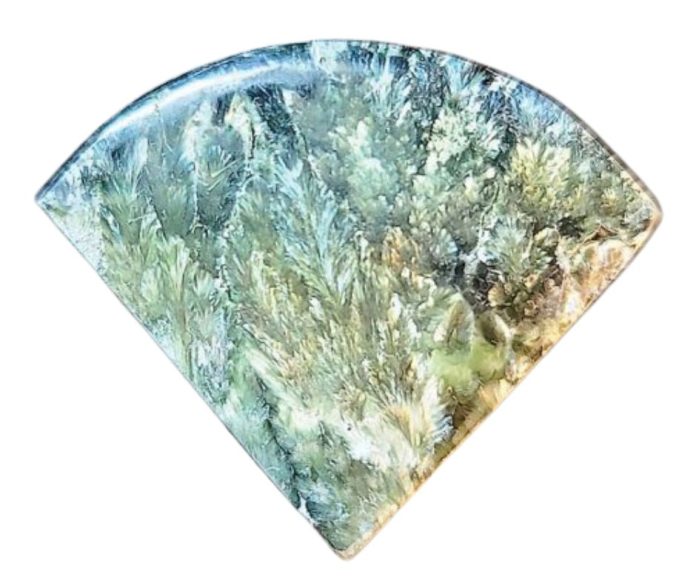
Seraphinite is a form of clinochlore, a member of the chlorite group. It is only found in the Lake Baikal region of eastern Siberia. Seraphinite acquired its name after Seraphim, the biblical highest order of angels, because of its shimmery, feather-like appearance.
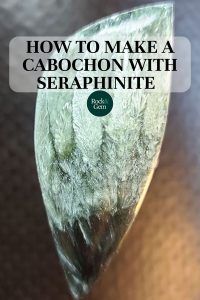
Seraphinite Properties
The mica inclusions give the stone wonderful chatoyancy. The inclusions grow at different lengths, the longer ones give that feather appearance. Other times you get shorter growth patterns in rows that give the mystic forest appearance. The radial growth patterns in this stone are more highly sought after and make for beautiful designs in cabochons.
Finding Seraphinite
Although seraphinite is getting rather scarce to find, it is still available for sale at shows and online. Most of the time you can easily see what you’re getting, as the patterns will be quite visible on the outside. If you are looking for certain patterns and a higher grade, buying pre-cut slabs is the way to go. If you have never cut seraphinite before, know there are some pitfalls with this material. It’s soft and can easily break in the trimming or cabbing process. It also has varying hardnesses, so it can tend to undercut, as well as easily chip on the edges.
 Cutting to Enhance the Patterns
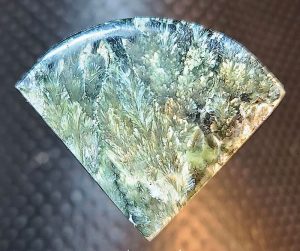
When getting started on cutting slabs, there is a general direction to cut. Most of the time you will see radial or partial radial sprays at the bottom portion of the stone. That will give you a grasp of what is top and bottom, so you can cut north to south for your slabs. This will yield the best chatoyant patterns in the stone. I would also suggest cutting your slabs a slight bit thicker than the average stone because of its softness.
This gives you greater odds against it breaking in the cabbing process. Once your slabs are cut, many times you will get two predominant patterns for design. The top portion usually has smaller feather patterns that are tight together. The bottom portion will give you more radial sprays and longer feathery designs. Both sections are great to design cabs with but remember that the solid green areas are harder than the mica inclusions, and will tend to undercut. The lighter the color, the softer that portion.
Cabbing Seraphinite
Once your preforms are trimmed out and you are ready to cab, I would suggest a different routine than cabbing agates or jaspers. I like to start on a worn 80-grit steel wheel, or a 140-grit soft resin, as this material tends to grind away super easily and quickly. Use a soft touch to shape your outside design, then move to a 140-grit or even the 280-grit soft resin wheel to dome the top and clean up your edges and girdle on the cab.
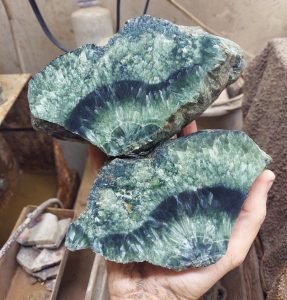 Remember, the lighter the color, the softer it is, so beware when trying to cab thin cabs or long pointy cabs, it can break easily!
Once you have completed shaping and doming the cab on the 280-grit wheel, stop and dry it off thoroughly and be sure you have removed all the scratches by this point. With the mica inclusions running in a certain direction, you will easily see if there are any scratches, as they will stand out going against the feathery sprays.
From this point, start polishing gently on the 600-grit wheel, trying not to put too much pressure on the surface to alleviate any unwanted undercutting. Continue to the 1200 grit wheel and end on either the 3k grit or 8k grit wheel. At this point, it will give you a nice glossy finish where no added polishing compounds are needed.
This story about seraphinite previously appeared in Rock & Gem magazine. Click here to subscribe. Story by Russ Kaniuth.


