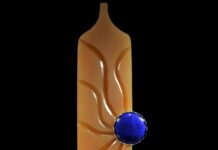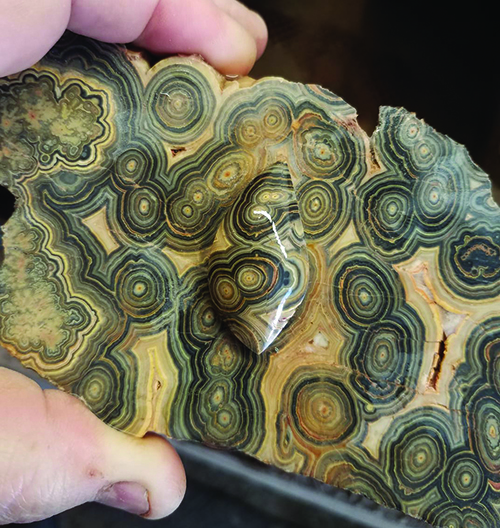
Flowering tube onyx is an incredibly unique stone that is very ornate with flowering patterns, colorful banding and beautiful orbs in rich autumn colors. Though it is not a typical onyx, as most are quartz-based material, flowering tube onyx is much more of a stalactite — where it is mostly calcite.
Purchasing Flowering Tube Onyx
This material was originally found by Robert Steele in Juab County, Utah in the 1960s. His son, Brandon, has since taken over the claim but limited supplies have still been available. It can still be purchased directly from Brandon at Steelemining@yahoo.com. If you can find it elsewhere, choosing slabs over rough might be the best way to go. With flowering tube onyx, you can see just what set of patterns are present. Many times the material can be nothing but orbs, and other times you can get many flowering patterns, so it’s all up to your preference and what you desire most.
If you do purchase rough, I would suggest hand cutting on a smaller saw with a thinner blade to aid in cleaner cuts, with less chance of it breaking apart. Since this material is comprised of mostly softer materials, it can tend to break or separate during the cabbing process, so stabilizing this material is highly suggested. Before attempting to slab this material, wash off the rough, and determine where the patterns are. Many times you can see the direction the tubes are running and if you want orbs, then slicing across that direction will achieve your goal. Cutting the other direction will yield an entirely different look with lots of bands and waves.
Cabbing Challenge and Adventure
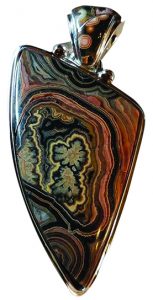 Cabbing flowering tube onyx is both easy and difficult. It is soft, so it shapes rather quickly and easily, and yet can be your worst nightmare as it tends to separate between layers from the heat of the grinding wheels. Again, this is where stabilized material is recommended, but certainly not necessary. I would suggest starting on a less aggressive grinding wheel like a 220-grit to shape and dome your cabochon and attempt to remove as many of the flat spots as you can in this stage because as soon as you move onto the soft resin diamond wheels, the chance of it separating is increased.
I like to switch between cabs once I reach the 280 wheel. I will smooth out the cab and get all the scratches out, and let it sit in the bay while working on the next cab. Once I finish one or two more cabs on the 280-grit wheel, I move onto the 600-grit wheel and do the same, work the cab and let it sit in the bay to let the water cool it as I work on another cab, and then proceed. This way you don’t continue to overheat the cab from one wheel to the next and create a greater chance of it staying together through the whole process without cracking.
Shining Flowering Tube Onyx
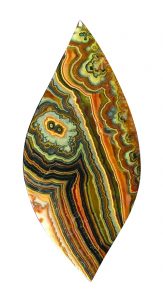
Flowering tube onyx will start to shine after the 1200-grit wheel, and you can end at the 14k grit to obtain a nice shine. If you prefer to move onto a 50k grit wheel, go slow so you don’t build too much friction. As far as going any further using polishing compounds, I wouldn’t suggest it, as this material sometimes presents with open areas between layers. This may cake the polishing compound making it difficult to get out and also increase the chance of it cracking from the heat.
This is an earthy-colored material that results in stunning cabs, and one I think most cabbers should try at least once.
This What to Cut column about flowering tube onyx previously appeared in Rock & Gem magazine. Click here to subscribe. Column by Russ Kaniuth.


