By Russ Kaniuth
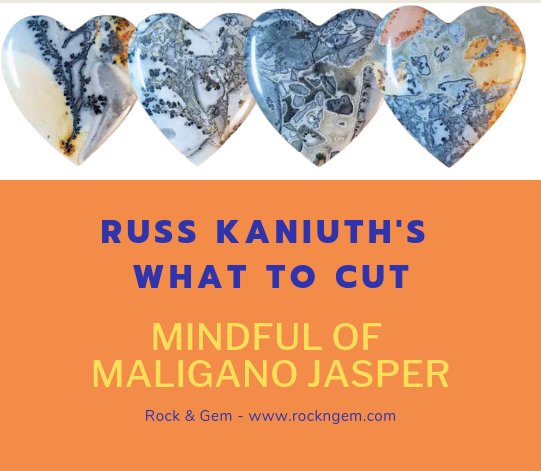
Maligano Jasper is named after a small village in Sulawesi, Indonesia. This material was originally found about six to seven years ago, but it seems like it’s just now making its way to the United States. There’s a large fascination with this stone and several reasons why.
Warm Colors and Rivers of Agate
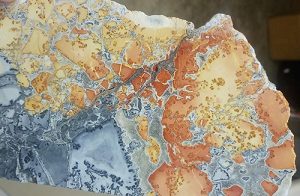
Maligano Jasper is colorful with warm yellows, reds, beiges, and greys. It often contains rivers of agate running throughout, while other sections have floating jasper in a wide array of brecciated fractal patterns, which is very similar to Stone Canyon Jasper. This material also has flowering dendrites running all around revealing cherry blossom patterns such as Sonoran Dendritic Rhyolite.
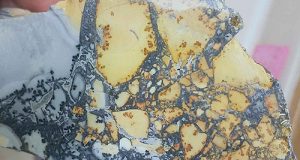
No two slabs are the same. Some areas are extremely colorful while other sections of a slab can be cool grey colors with dendrites present.
Buying rough is getting easier as more and more of this material is turning up in all venues on the internet, as well as shows. This is a very good stone for both beginners and experts to work with on all aspects of lapidary. Buying rough is really easy since everything on the outside of the stone is visible. There’s little to no waste with this stone, since there seems to be so much pattern in each slab. This means you can easily use the majority of the material to cut a large number of cabs per slab, more than most other lapidary materials.
Cut and Then Check
When starting out the slabbing process, it’s very easy to see the color patterns on the outside, but you might be surprised when cutting into your rough and you find agate rivers or blossoming dendrites. With this being the case one thing I like to do is cut the material in half and check the patterns.
Sometimes the patterns running north to south are better, than east to west. By cutting it in half, you have the chance to reposition it back in the saw and cut the other direction seeking out more desirable patterns.
This material is relatively soft and equivalent to cutting Picasso Marble or Sonoran Dendritic Rhyolite, which makes things easy on the saw and the cabbing process.
Once you have your slabs cut, the true artwork comes to life with many variations to choose from. Some people may choose the fractal patterns to design something abstract, while others may choose to find a scene of water and trees; but one thing is for sure, the options are endless.
Great Material For Teaching
Cabbing this material is actually super simple, and I will use it more often to teach new cabbers. To start, when shaping the preforms on the courser grits wheels, I would suggest leaving just about a half millimeter on the outside of your sketched lines due to the softness of the stone, knowing it will continue to sand down rather quickly as you go along.
I also cut my slabs just a slight bit thicker in order to keep my cabs around 5.5-6mm
thick as a finished cab. If you start with a thin slab, you might run the risk of getting the cab too thin as an end result.
After trimming around the cab and creating the dome on the 80 grit wheel, very gently smooth it out on a 220, and let the 280 grit do the rest of the work. The 280 grit will smooth out the cab and remove the scratches in a hurry. At this point and on, each grit goes rather quickly, and this material will leave you with a beautiful polish at the 14k grit stage.
In addition, this material is often sold at our Facebook group: Cabs and Slabs – The Slab Depot >>>.
Author: Russ Kaniuth
 Is the owner of Sunset Ridge Lapidary Arts and the cofounder of the Cabs and Slabs Facebook group.
View more of his work at www.sunsetridgelapidary.com.


